You probably heard of APC/APCu, Opcache, Xcache which can significantly speed up WordPress or any type of supported php scripts. In this tutorial I’ll show you how to speedup WordPress with Redis Object cache since on CWP/Centos WebPanel opcache doesn’t supported because of SUPHP module. Now opcache is supported Check this link However we will continue with Redis Cache installation on CWP, SO lets get started.
Configure and Speed Up WordPress with Memcached on PHP 7
What is Redis Cache?
Redis is a fast, open source, in-memory key-value data structure store. Redis comes with a set of versatile in-memory data structures which enable you to easily create a variety of custom applications. Leading use-cases for Redis include caching, session management, pub/sub, and leaderboards. It is the most popular key-value store today. It is BSD licensed, written in optimized C code, and supports multiple development languages. Redis is an acronym for REmote DIctionary Server.
How to enable Redis in WordPress and in CWP?
Step ONE :
- Go to CWPadmin (as root)
- Select “PHP Settings” then select “PHP Version Switcher“
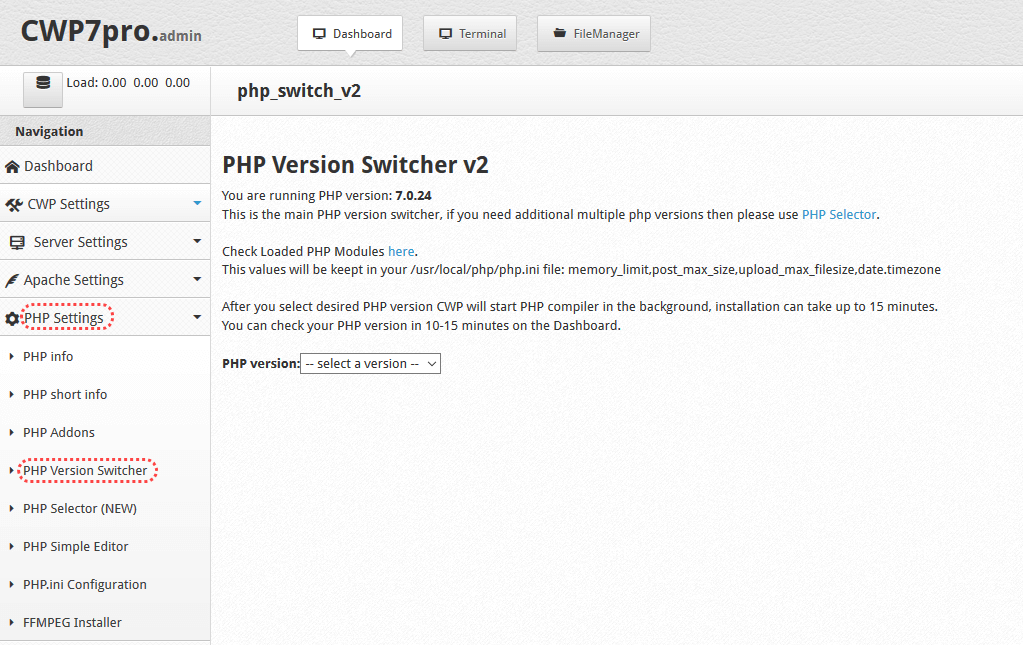
- Then Select “PHP Version” from the drop down, I will recommend php 7.0 or php 7.1
- After that page will reload and you’ll see PHP option availble for installation (checkbox)
- Navigate to bottom and find “redis” and check mark it then hit “Build” button, after the php rebuild process is completed you can check redis is running or not by this command:
service redis status
you’ll get output like this ( tested on centos 7, centos 6 have different output like “running” ):
[root@demo ~]# service redis status
Redirecting to /bin/systemctl status redis.service
* redis.service - Redis persistent key-value database
   Loaded: loaded (/usr/lib/systemd/system/redis.service; enabled; vendor preset: disabled)
  Drop-In: /etc/systemd/system/redis.service.d
           `-limit.conf
   Active: active (running) since Wed 2017-12-27 05:36:47 EST; 1h 22min ago
 Main PID: 19389 (redis-server)
   CGroup: /system.slice/redis.service
           `-19389 /usr/bin/redis-server 127.0.0.1:6379
at this point all is fine, now we’ll check php redis is installed correctly or not :
php -m | grep -i redis
the output will be like this :
[root@demo ~]# php -m | grep -i redis
redis
[root@demo ~]#
if you get the phrase redis as output then all is okay and we’ll move forward with WordPress and Redis integration
Step TWO :
Before enabling redis-object-cache in WordPress, you have to add the following lines in your wp-config.php file.
define( 'WP_CACHE_KEY_SALT', 'example.com:' );
replace example.com with your site
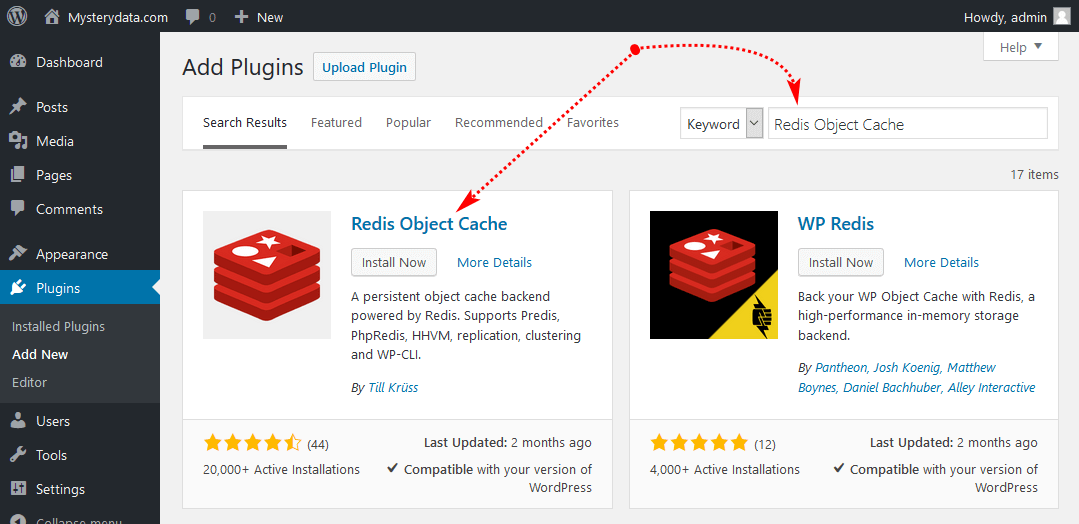
- Login to WordPress wp-admin
- Go to “Plugins” >> “Add Plugin“
You need to add this plugin : Redis Object cache
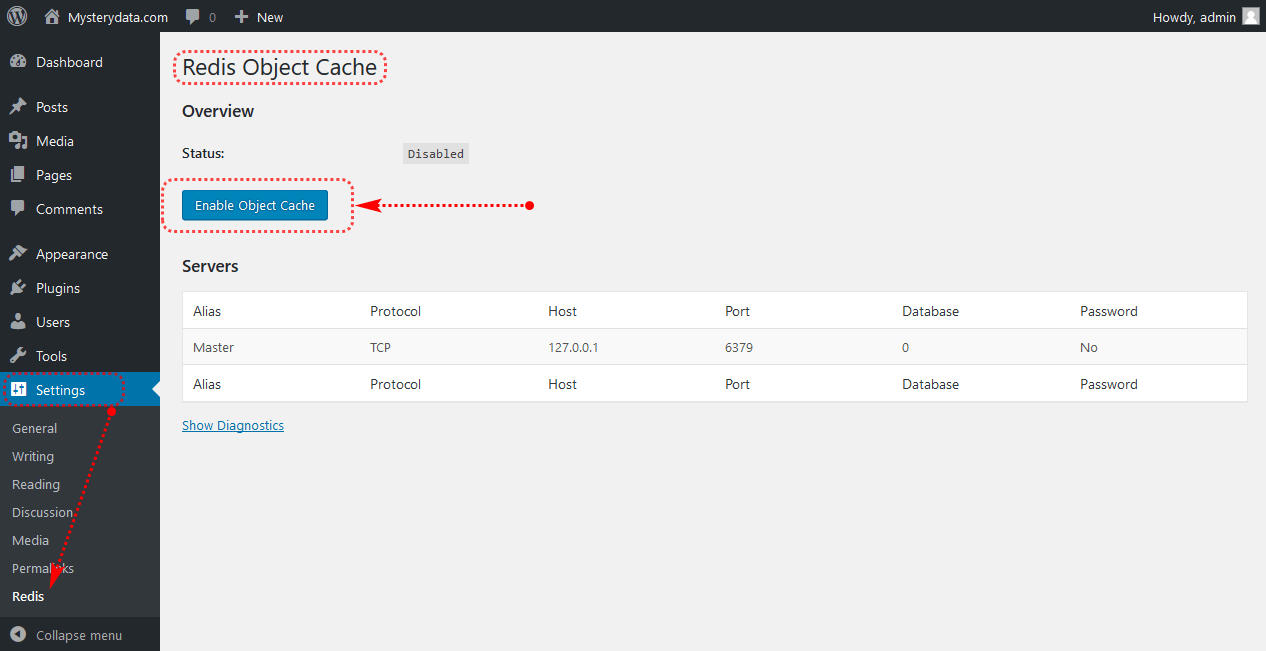
 I assume you already installed the Redis Object cache plugin now navigate to Redis settings and click on “Enable Object Cache”
 After you enabled the redis cache it will show “Connected” like below image :
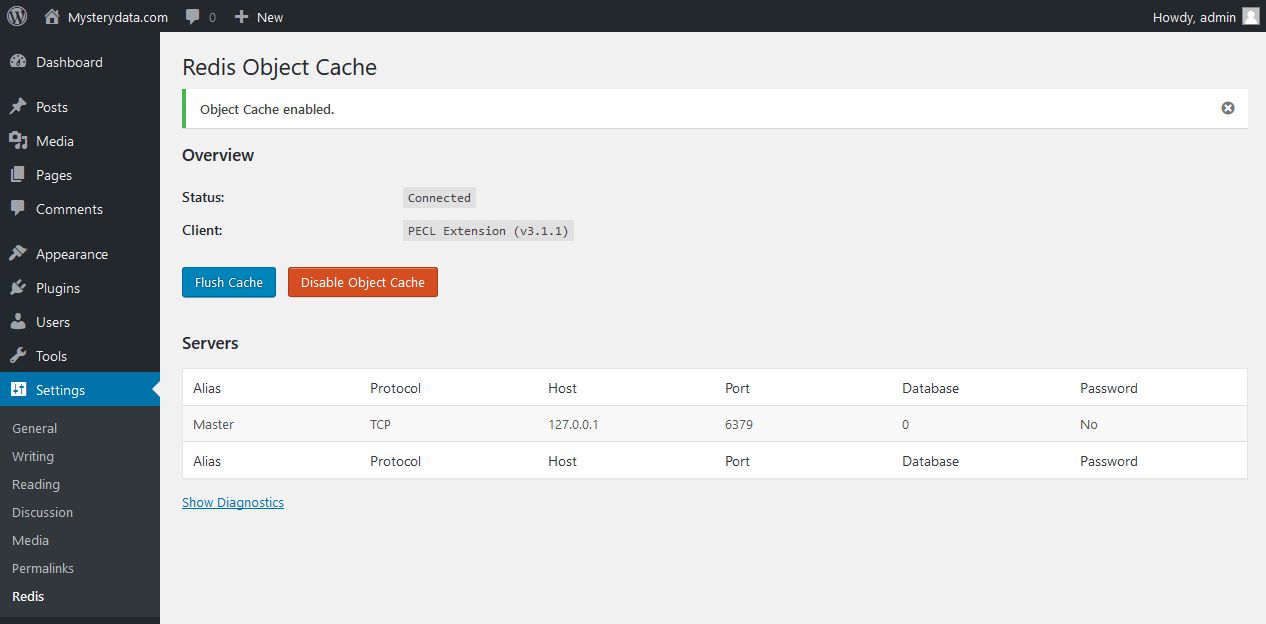 Congratulation you just enabled Redis cache for WordPress, and you’ll notice loads are now decreased and site is loading blazing fast.