In this tutorial we’ll going to install CyberPanel which have OpenLiteSpeed as webserver, if you’re willing to host WordPress site go for this panel but it also have some limitations if we compare with nginx and apache webservers. I’ll still recommend you to use free panel like CWP and VestaCP which are more stable.
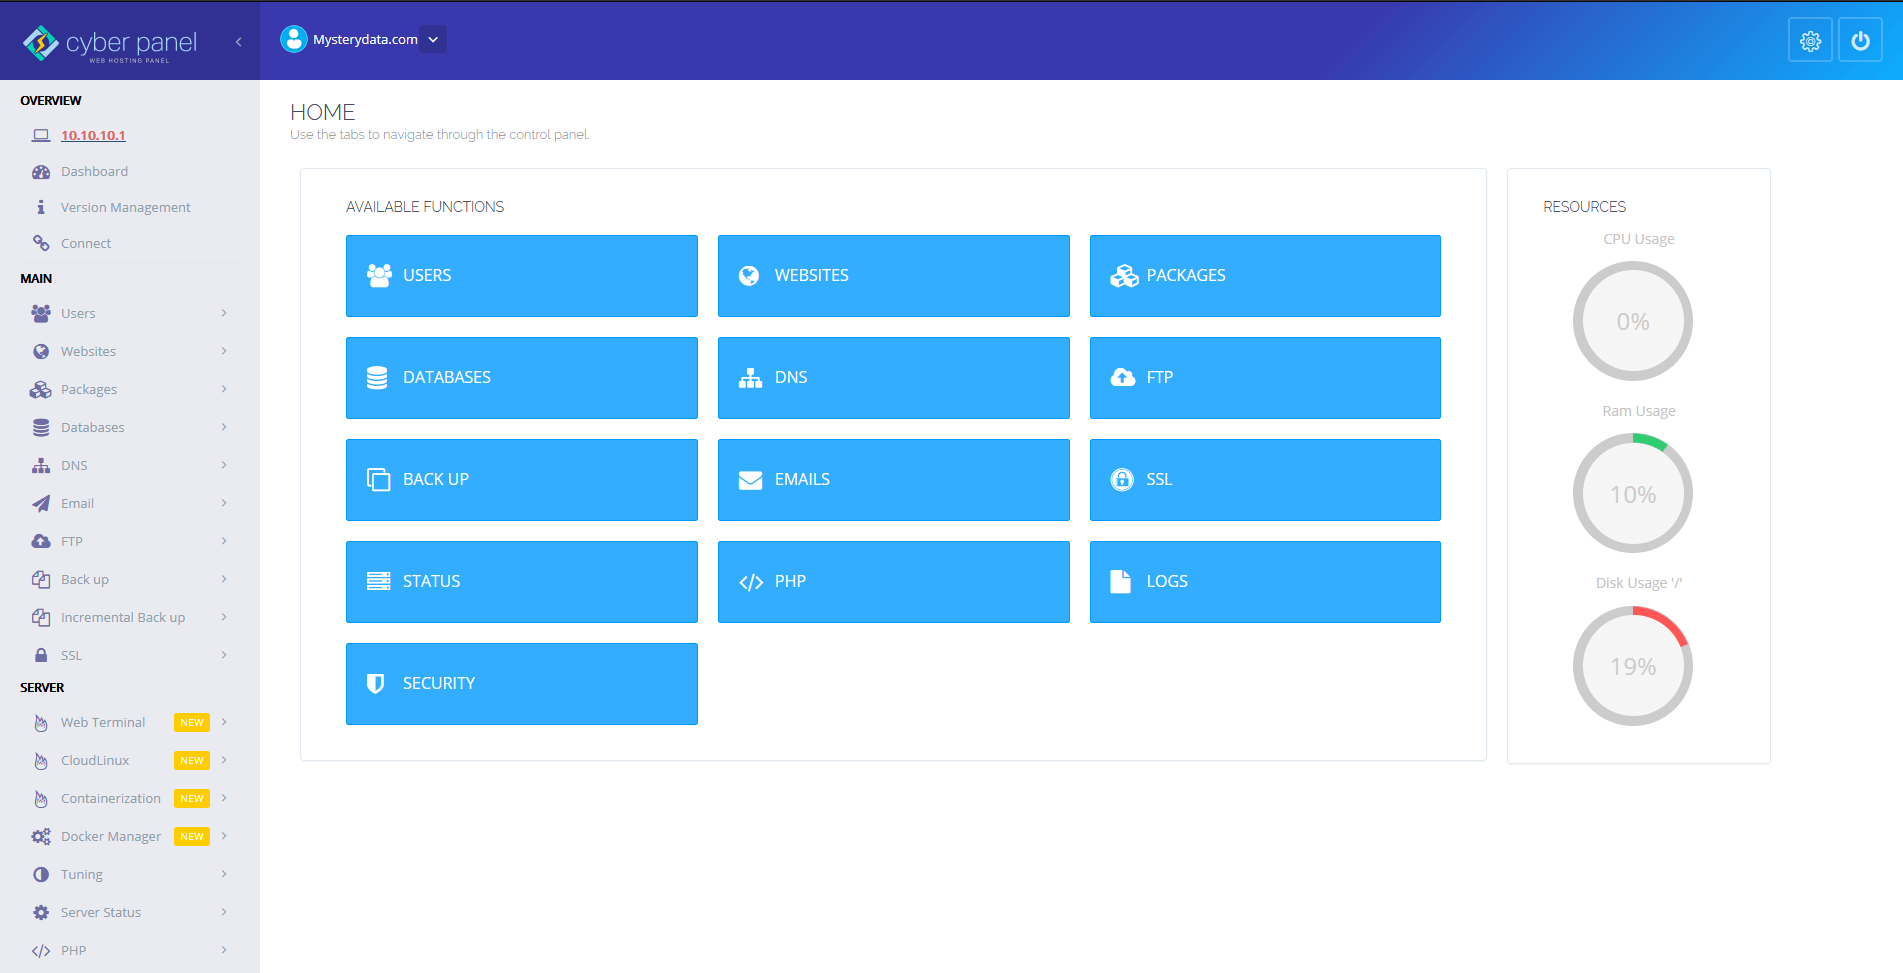
Admin panel
CyberPanel is the first control panel that uses OpenLiteSpeed as a web server.
Some of the features of CyberPanel are listed below:
-
Different Level Of users.
-
Root
-
Normal User.
-
-
Auto SSL.
-
FTP Server.
-
Light weight DNS Server.
-
PHPMYAdmin.
-
Email Support (Rainloop)
-
FileManager.
-
PHP Managment.
-
Firewall.
-
One click Backup and Restore.
-
Email Limits.
-
SpamAssassin.
New Features :
Features
- CloudFlare DNS Synchronization
- Redis Mass Hosting
- Imunify360 Integration
- Git Manager
- Git Webhooks and Automation
- Email Queue Management
CyberPanel also allows you to select per site php from GUI panel, you can have either:
-
PHP 5.3
-
PHP 5.4
-
PHP 5.5
-
PHP 5.6
-
PHP 7.0
-
PHP 7.1
-
PHP 7.2
- PHP 7.3
- PHP 7.4
SO Without wasting time let’s get started :
Ensure you’ve installed A clean Centos 7 minimal Operating system and logged in as root user.
TO install cyberpanel you just need to run this command :
sh <(curl https://cyberpanel.net/install.sh || wget -O - https://cyberpanel.net/install.sh)
Then you’ll be prompted to select Screen 1 :
                CyberPanel Installer v2.00

  1. Install CyberPanel.

  2. Addons and Miscellaneous

  3. Exit.


  Please enter the number[1-3]: 1
Type “1” and hit “enter key”
Next screen 2:
Type “1” and hit “enter key”
                CyberPanel Installer

  RAM check : 24/4096MB (0.59%)

  Recommended minimal 512MB for 1 database instance installation.

  Recommended minimal 1024MB for 2 databases instances installation.

  Disk check : 581/20GB (3%) (Minimal 10GB free space)

  1. Install CyberPanel with 1 database instance.

  2. Install Cyberpanel with 2 databases instances.

  3. Exit.


Please enter the number[1-3]: 1
Next screen 3:
Install Full service for CyberPanel? This will include PowerDNS, Postfix and Pure-FTPd.

Full installation [Y/n]: Y
Type “Y” and hit “enter key”
Next screen 4:
Press Enter key to continue with latest version or Enter specific version such as: 1.9.4 , 1.9.5 ...etc
Hit “enter key”
Next screen 5:
Please choose to use default admin password 1234567, randomly generate one (recommended) or specify the admin password?
Choose [d]fault, [r]andom or [s]et password: [d/r/s]
type “s” to set the password and enter the desired strong password then hit “enter key” and enter the password again to confirm and press “enter key”
Next screen 6:
Do you wish to install Memcached extension and backend?
Please select [Y/n]: Y

Do you wish to install Redis extension and backend?
Please select [Y/n]: Y
Type “Y” for install them ot “n” to not install them it is recommended to install them as many script supports them for performance benefits.
Next screen 7:
Would you like to set up a WatchDog (beta) for Web service and Database service ?
The watchdog script will be automatically started up after installation and server reboot
If you want to kill the watchdog , run watchdog kill
Please type Yes or no (with capital Y, default Yes):
Y
Type “Y” and hit “enter key”
this is the last step and the installation will start automatically you need to wait for the setup this will take some time.
You’ll be Notified about the username and pass for admin and webconsole, save it :
###################################################################
                CyberPanel Successfully Installed

                Current Disk usage : 3/20GB (20%)

                Current RAM  usage : 229/4096MB (5.59%)

                Installation time  : 0 hrs 8 min 28 sec

                Visit: https://144.217.209.165:8090
                Panel username: admin
                Panel password: passwordichoosen
                WebAdmin console username: admin
                WebAdmin console password: pEGr7aBQd3OEZT21

             Run cyberpanel help to get FAQ info
             Run cyberpanel upgrade to upgrade it to latest version.
             Run cyberpanel utility to access some handy tools .

              Website : https://www.cyberpanel.net
              Forums  : https://forums.cyberpanel.net
              Wikipage: https://docs.cyberpanel.net

            Enjoy your accelerated Internet by
                CyberPanel & OpenLiteSpeed
###################################################################
Ensure you open this ports if you’ve backend firewall like pfsense/router etc:
Please make sure you have opened following port for both in/out:
TCP: 8090 for CyberPanel
TCP: 80, TCP: 443 and UDP: 443 for webserver
TCP: 21 and TCP: 40110-40210 for FTP
TCP: 25, TCP: 587, TCP: 465, TCP: 110, TCP: 143 and TCP: 993 for mail service
TCP: 53 and UDP: 53 for DNS service
Now at last you are asked to reboot your system
Would you like to restart your server now? [y/N]: y
type “y” and hit “enter key”
Thats it the installation is nowdone. Next use the server ip and port 8090 to access the panel https://10.10.10.1:8090
To install ssl on hostname/cyberpanel control panel eg : https://panel.yourdomain.tld:8090
use this guide : https://cyberpanel.net/docs/2-cyberpanel-on-ssl/