In this tutorial I’ll show you how you can easily install ERPNext 13 in your Centos 8 stream/EL8/CWP server follow the below steps to get it installed.
ERPNext is a free and open-source integrated Enterprise Resource Planning software developed by Frappe Technologies Pvt. Ltd. and is built on MariaDB database system using Frappe, a Python based server-side framework. ERPNext is a generic ERP software used by manufacturers, distributors and services companies.
This tutorial is tested in EL8 and works perfectly there, for EL7 you can still use this tutorial just replace dnf with yum, please if el7 not works in some step you need to check that or open a topic in our community forum as I didn’t have any system with el7 and can’t able to check for issues in future.
First we need install all the dependencies :
dnf install -y openssl-devel zlib-devel bzip2-devel libffi-devel xz-devel python2 nano redis
dnf groupinstall "Development Tools" -y
dnf install libuv-devel --nobest -y
systemctl start redis
systemctl enable redis
Install Python 3.8
cd /usr/local/src
rm -rf Python-*
wget https://www.python.org/ftp/python/3.8.12/Python-3.8.12.tgz
tar xvf Python-3.8.12.tgz
cd Python-3.8*/
./configure --enable-optimizations
make altinstall
Install MariaDB 10.4 – 10.7 as per your requirement I’ll install 10.7 :
if you’ve already installed mariadb you can skip this installation part and move to Modify mariadb config and add this directives in /etc/my.cnf step
Add mariadb repo :
nano /etc/yum.repos.d/mariadb.repo
Then add below entries and save it :
[mariadb]
name = MariaDB
baseurl = https://mirror.23m.com/mariadb/yum/10.7/centos8-amd64
module_hotfixes=1
gpgkey=https://mirror.23m.com/mariadb/yum/RPM-GPG-KEY-MariaDB
gpgcheck=1
Now install Mariadb :
dnf install MariaDB-server -y
systemctl enable mariadb
systemctl start mariadb
You can reset the mariadb root password in mysql console follow the below command one by one:
mysql
ALTER USER 'root'@'localhost' IDENTIFIED BY 'MyNewPassword';
flush privileges;
exit;
** don’t forget to replace MyNewPassword with your own mysql root password
Modify mariadb config and add this directives in /etc/my.cnf :
nano /etc/my.cnf
then add this and save :
[mysqld]
character-set-client-handshake = FALSE
character-set-server = utf8mb4
collation-server = utf8mb4_unicode_ci

[mysql]
default-character-set = utf8mb4
Restart MariaDB server :
systemctl restart mariadb
example /etc/my.cnf will look like :
#
# This group is read both by the client and the server
# use it for options that affect everything
#
[client-server]

[mysqld]
character-set-client-handshake = FALSE
character-set-server = utf8mb4
collation-server = utf8mb4_unicode_ci

[mysql]
default-character-set = utf8mb4

#
# include *.cnf from the config directory
#
!includedir /etc/my.cnf.d
Install Nodejs 14 or above :
curl -fsSL https://rpm.nodesource.com/setup_14.x | bash -
sed -i '/^failovermethod=/d' /etc/yum.repos.d/*.repo
yum install nodejs -y
Install yarn :
curl -sL https://dl.yarnpkg.com/rpm/yarn.repo | sudo tee /etc/yum.repos.d/yarn.repo
yum install yarn -y
Now You need to create an user :
useradd sandeep
** if you’ve already an user created you can skip the useradd step and login via below command
after you added the user you need to login as user directly via ssh or from root with this command :
su -l sandeep -s /bin/bash
Then Install Frappe Bench :
git clone https://github.com/frappe/bench
pip3.8 install -e ./bench
bench init frappe-bench
- follow onscreen instruction if asked
After the successfully installation you need to go to the dir named frappe-bench in /home/sandeep and create new site :
cd frappe-bench
bench new-site mysterydata.com
** it will ask mysql root password ensure you’ve it handy and admin password
here ensure you’ve added the correct site name where you want to access erpnext i.e. if you want to access from domain name add the domain name like I’ve added mysterydata.com or if you want to access via www.mysterydata.com add it there or server ip/localhost ip
Now Download ERPNext application :
bench get-app erpnext https://github.com/frappe/erpnext
bench --site mysterydata.com install-app erpnext
- it may ask mysql root password ensure you’ve it handy and erp admin password
Now you’ll see ERPNext is installing and after successful installation application we’ll start it and it will live in this address :
http://mysterydata.com:8000
Start the application via this command :
bench start &
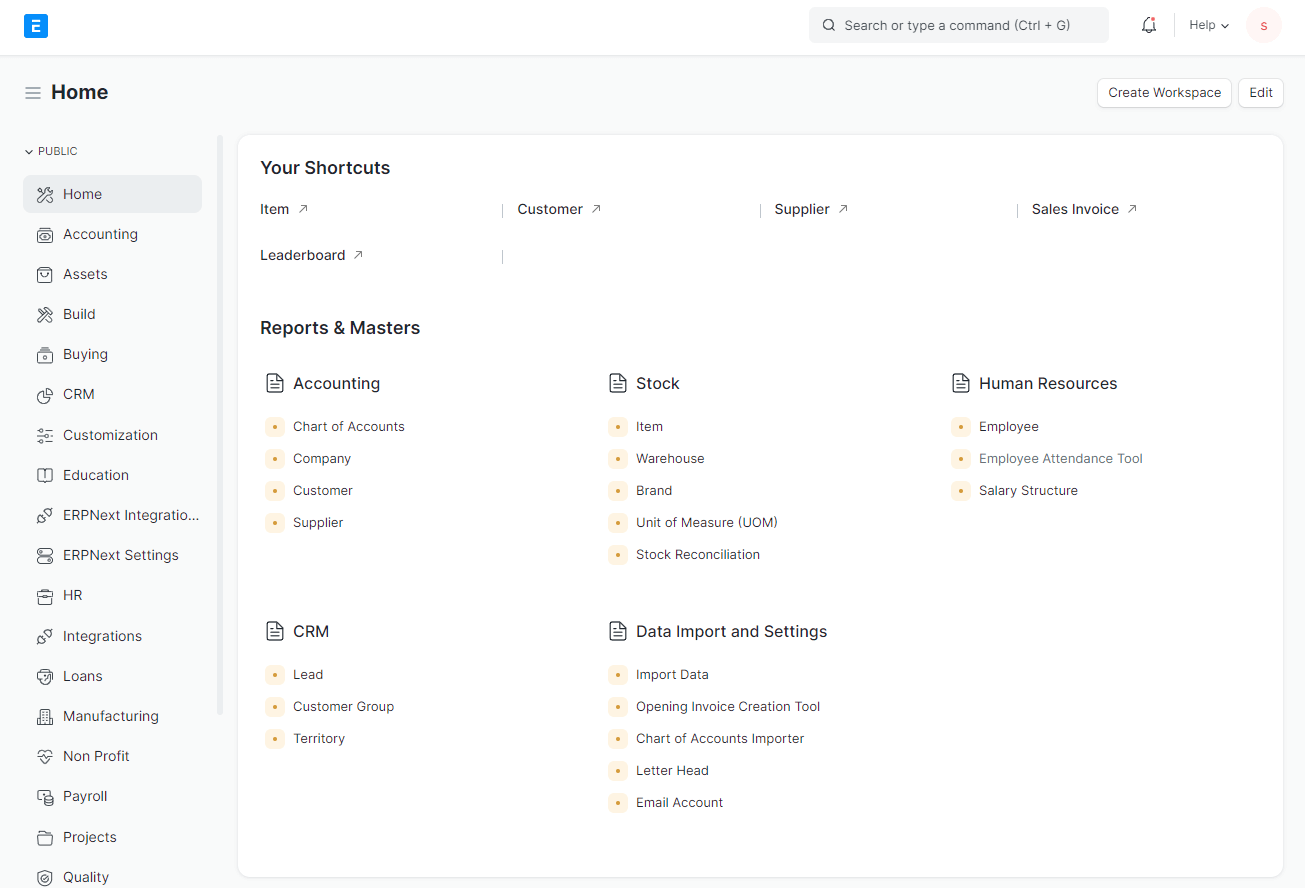
Now you’ll see the login page upon accessing upper url with port 8000, use username : Administrator and admin password you’ve chosen if you missed the password then don’t need to worry you can reset it from here :
Stop all bench, this will stop processes created by user
pkill -f sandeep
- here Sandeep is the user account username
login to user and go to dir frappe-bench
su -l sandeep -s /bin/bash
cd frappe-bench
then run this to reset admin password :
bench --site [sitename] set-admin-password [password]
eg :
bench --site mysterydata.com set-admin-password MypassworD
That’s it now you can login
CWP Recommendations :
In CWP you need to open port 8000 in firewall or if you want to access from localhost for proxy the Ip and PORT with nginx or apache you need to use 127.0.0.1 or server public IP as sitename in place of mysterydata.com in above examples.