In this tutorial we’ll install LAMP stack server on Ubuntu 18.04 LTS – LAMP Mean L=LINUX (OS) A=APACHE (Web Server) M=MySQL (Database) P=PHP (Language), LAMP stack is the minimal setup inorder to use php scripts (wordpress and other php based application) and best thing about LAMP stack is it will consume less resources than any other control panel.
Why we use LAMP setup and not the control panel ?
If you didn’t want any other services other than LAMP stack you should go with LAMP, if you need extended features like mail, integrated backup system etc you need to go with control panel.
Let’s get started with LAMP setup on ubuntu 18.04 LTS, Login as root onward :
1. Update Ubuntu :
To update Ubuntu to latest version run this below commands :
apt update
apt upgrade
2. Install Apache Web Server
Now we’ll install Apache Web server follow the command :
apt install apache2
3. Installing PHP
First you need to add Ondrejs PPA :
apt-get install software-properties-common
add-apt-repository ppa:ondrej/php
apt update
Then install PHP :
apt-get install libapache2-mod-php7.2 php7.2 php7.2-bcmath php7.2-bz2 php7.2-cgi php7.2-cli php7.2-common php7.2-curl php7.2-dba php7.2-dev php7.2-enchant php7.2-fpm php7.2-gd php7.2-gmp php7.2-imap php7.2-interbase php7.2-intl php7.2-json php7.2-ldap php7.2-mbstring php7.2-mysql php7.2-odbc php7.2-opcache php7.2-pgsql php7.2-phpdbg php7.2-pspell php7.2-readline php7.2-recode php7.2-snmp php7.2-soap php7.2-sqlite3 php7.2-sybase php7.2-tidy php7.2-xml php7.2-xmlrpc php7.2-xsl php7.2-zip
You can check the php version :
root@mysterydata:~# php -v
PHP 7.2.5-1+ubuntu18.04.1+deb.sury.org+1 (cli) (built: May  5 2018 05:00:15) ( NTS )
Copyright (c) 1997-2018 The PHP Group
Zend Engine v3.2.0, Copyright (c) 1998-2018 Zend Technologies
    with Zend OPcache v7.2.5-1+ubuntu18.04.1+deb.sury.org+1, Copyright (c) 1999-2018, by Zend Technologies
4. Installing MySQL
Now at last we’ll install MySQL server via this command :
apt install mysql-server
then run this command to setup mysql root password :
mysql_secure_installation
eg. :
root@mysterdata:~# mysql_secure_installation

Securing the MySQL server deployment.

Connecting to MySQL using a blank password.

VALIDATE PASSWORD PLUGIN can be used to test passwords
and improve security. It checks the strength of password
and allows the users to set only those passwords which are
secure enough. Would you like to setup VALIDATE PASSWORD plugin?

Press y|Y for Yes, any other key for No: no
Please set the password for root here.

New password:

Re-enter new password:
By default, a MySQL installation has an anonymous user,
allowing anyone to log into MySQL without having to have
a user account created for them. This is intended only for
testing, and to make the installation go a bit smoother.
You should remove them before moving into a production
environment.

Remove anonymous users? (Press y|Y for Yes, any other key for No) : y
Success.


Normally, root should only be allowed to connect from
'localhost'. This ensures that someone cannot guess at
the root password from the network.

Disallow root login remotely? (Press y|Y for Yes, any other key for No) : y
Success.

By default, MySQL comes with a database named 'test' that
anyone can access. This is also intended only for testing,
and should be removed before moving into a production
environment.


Remove test database and access to it? (Press y|Y for Yes, any other key for No) : y
 - Dropping test database...
Success.

 - Removing privileges on test database...
Success.

Reloading the privilege tables will ensure that all changes
made so far will take effect immediately.

Reload privilege tables now? (Press y|Y for Yes, any other key for No) : y
Success.

All done!
5. Installing PHPMYADMIN (optional) :
This is the optional step to install PMA on your server :
apt install phpmyadmin
- For the server selection, choose apache2.
- Select yes when asked whether to use
dbconfig-commonto set up the database - You will be prompted for your database administrator’s password
- You will then be asked to choose and confirm a password for the
phpMyAdminapplication itself
ln -s /etc/phpmyadmin/apache.conf /etc/apache2/conf-available/phpmyadmin.conf
a2enconf phpmyadmin.conf
systemctl restart apache2
or
systemctl reload apache2
username will be “phpmyadmin” and password whatever you selected when installing phpmyadmin
6. Then restart the services and enable services on boot :
Restart the services :
service apache2 restart
service mysql restart
Start the services on boot :
systemctl enable apache2
systemctl enable mysql
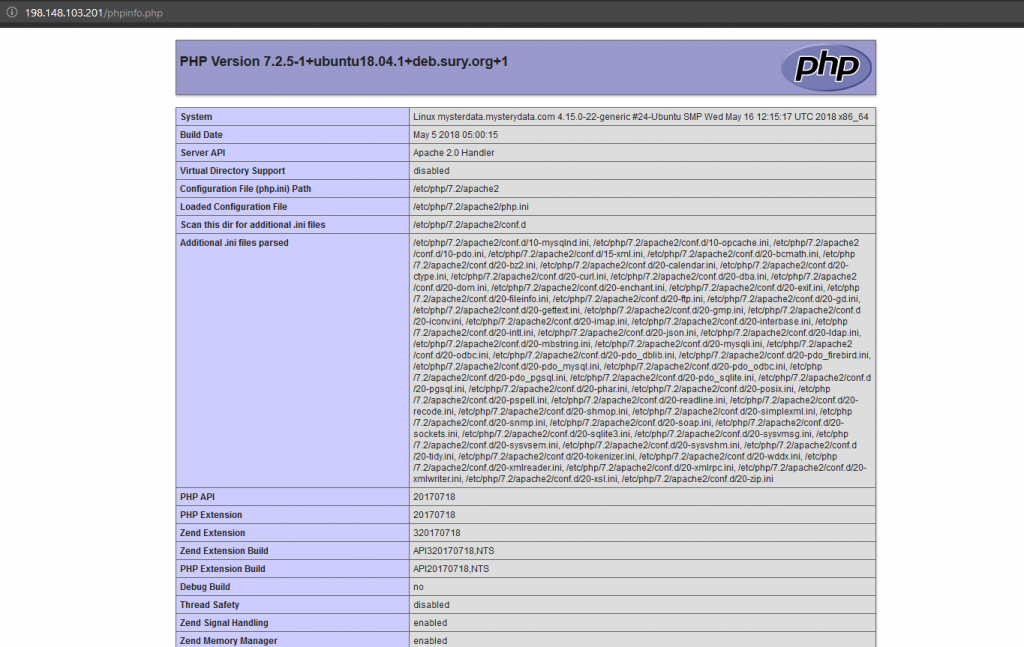
Checking php :
Upload phpinfo test file under
cd /var/www/html
apt install nano -y
nano phpinfo.php
And add this phpinfo script :
<?php
phpinfo();
?>
Fix the permission for files :
chown -R www-data:www-data /var/www
open http://ip/phpinfo.php
7. Firewall settings :
use only if you’re using firewall Iptables or UFW :-
Iptables :
iptables -A INPUT -m state --state NEW -p tcp --dport 80 -j ACCEPT
iptables -A INPUT -m state --state NEW -p tcp --dport 443 -j ACCEPT
UFW :
ufw allow 80/tcp
ufw allow 443/tcp
Thats it you’ve installed LAMP stack on Ubuntu 18.04 LTS server